Reveal Your Personalized Path to Accessibility Compliance
Answer a few quick questions, and we will determine the best accessibility path for your organization. Then, we will outline the actions you must take to comply. Protect your business as soon as possible with the recommended steps. Our Compliance Center resources and guided instructions pave the way for your property’s accessibility compliance while opening up your business to more users.
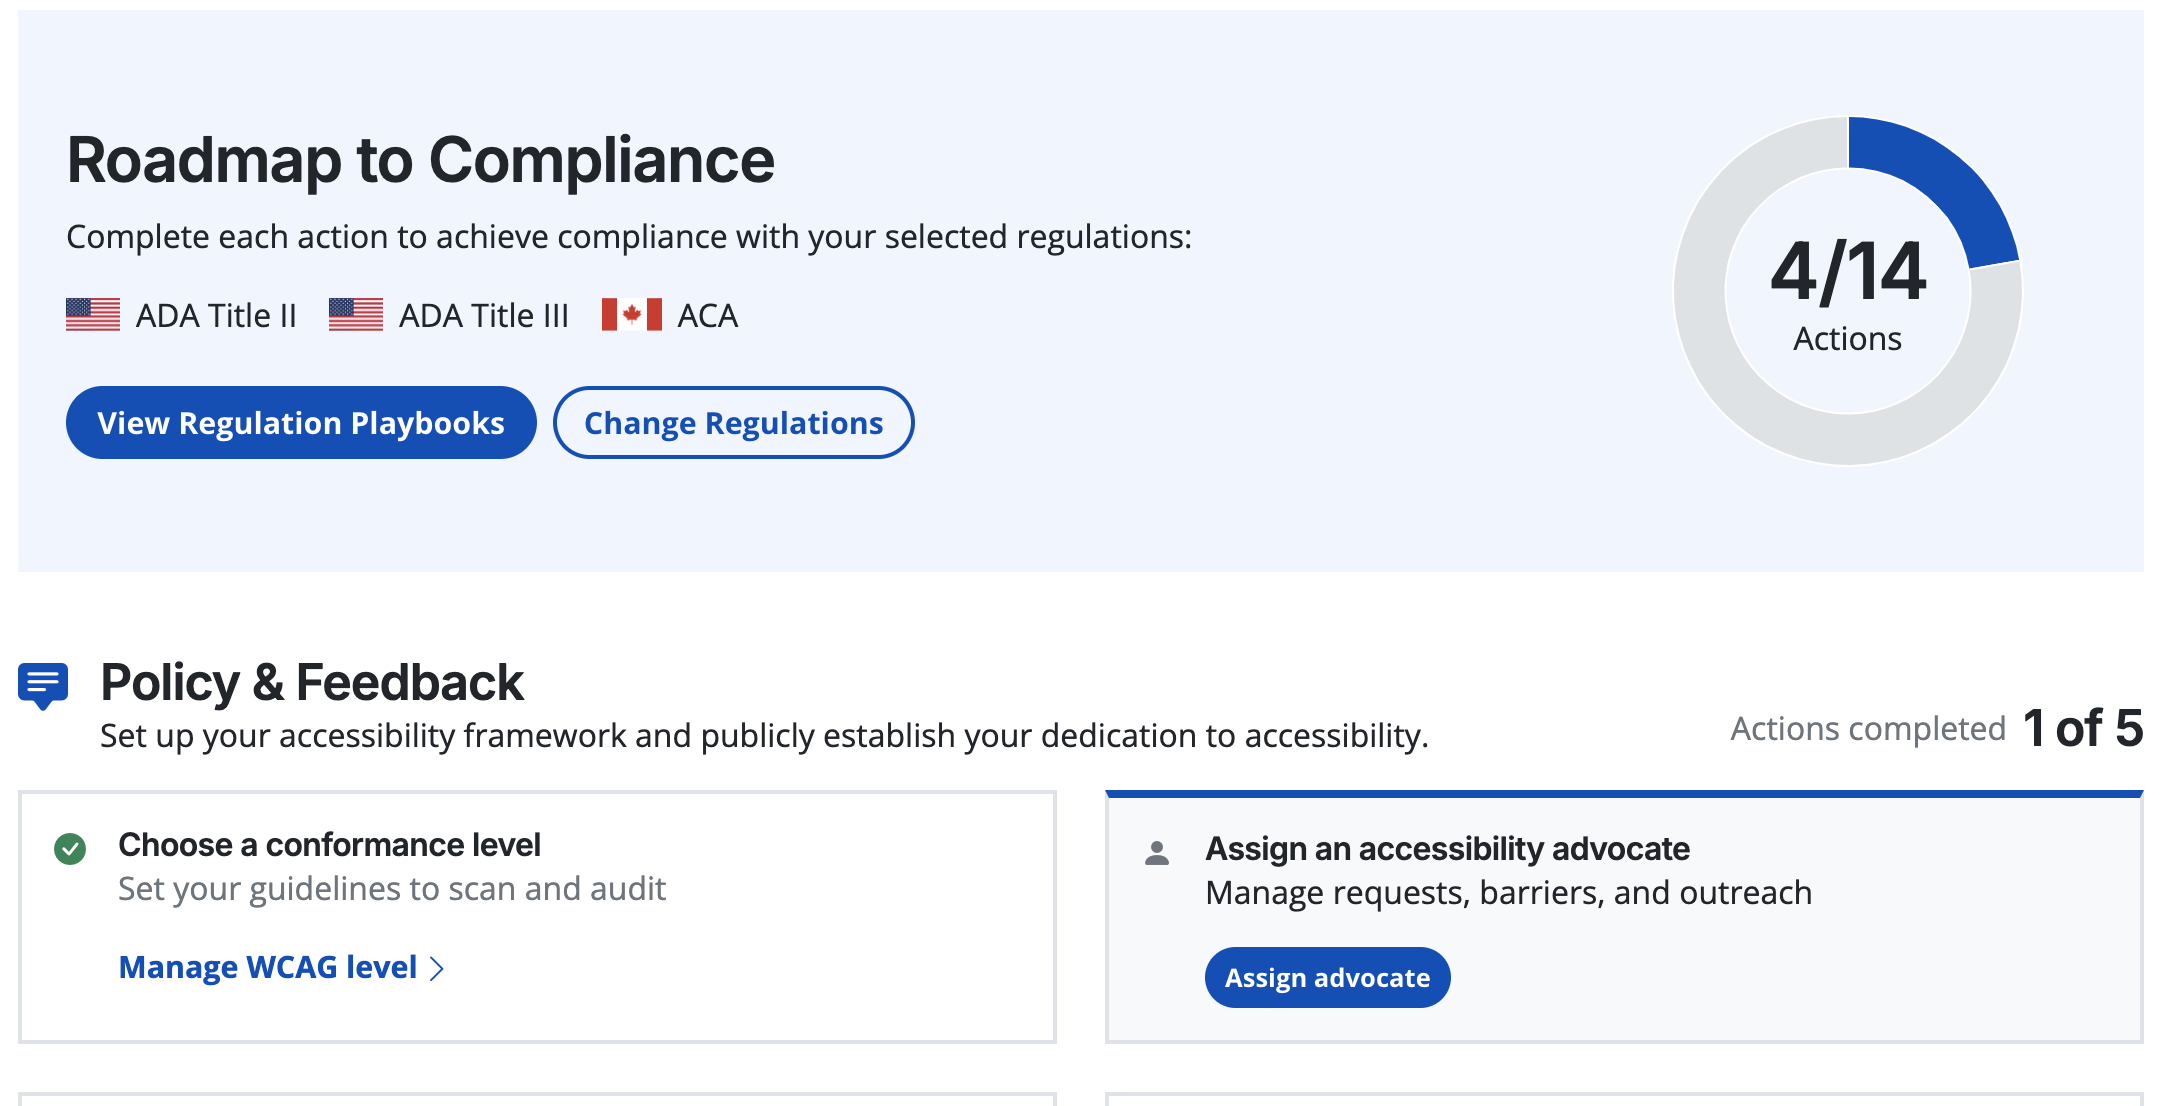
Built-in Digital Accessibility Compliance Assistant
From initial understanding policies, publishing accessibility statements, to long-term maintenance, Accessible Web RAMP’s Compliance Center assists you in tracking your progress and recommends the best next step.


Explore Playbooks for Accessibility Compliance Standards
Get clarity on accessibility laws like the ADA, AODA, EAA, and more with our curated playbooks—available both on our site and in the Compliance Center. Stay informed and confidently navigate global accessibility regulations as they apply to your organization.
Your Key to Website Accessibility Compliance
The Compliance Center is available on all RAMP plans.
Hear directly from our customers

“RAMP not only provides us with a list of remediations but is also a source of truth, tooling and automation on our journey to accessibility certification.”
— Anonymous user, Fintech Industry
“[RAMP] catches many accessibility issues in an automatic, recurring method, and gives great advice on how to correct it.”
— Deneb P, Developer
“Being provided with the troublesome code, suggested remediation and the ability to rescan individual pages to confirm successful remediation has been huge.”
— Joshua B, Developer
Ready to Get Started? Try RAMP for Free
Sign up for a free 14-day trial of RAMP and start discovering web accessibility issues on your website within minutes.
(14-day free trial – no credit card required)
FAQ
-
New to accessibility? You’re not alone. Accessibility compliance involves ensuring digital properties meet legal and compliance laws and regulations by aligning with standards such as the WCAG (Web Content Accessibility Guidelines).
-
Yes, website accessibility is a legal requirement for digital properties to ensure compliance with laws and regulations such as the ADA (Americans with Disabilities Act), EAA (European Accessibility Act), and Section 508. Many states and countries have their own accessibility laws, but generally following WCAG will help you align with the many website accessibility laws and regulations.
-
If you are a designated public sector organization or a business or non-profit with 50 or more employees, the AODA mandates that all public websites, mobile sites, public-facing documents, and social media content you control must be made accessible.
-
The European Accessibility Act (EAA) is a European directive that mandates that products and services must be made accessible, including digital products and services.
-
The Accessible Canada Act mandates proactive measures to identify, remove, and prevent barriers for persons with disabilities in all areas of federal jurisdiction, including digital space. The ACA aims to create a barrier-free Canada by 2040.
-
ADA compliance means aligning with the rules and regulations outlined in the Americans with Disabilities Act. For digital accessibility, organizations and governments must provide accessible websites and mobile apps.